
Know the surface first
Oven Cleaning Advice
The best oven cleaning method depends on the part you are cleaning. Explore practical advice for door glass, racks, trays and the interior, with sensible limits for specialist liners and fitted components.
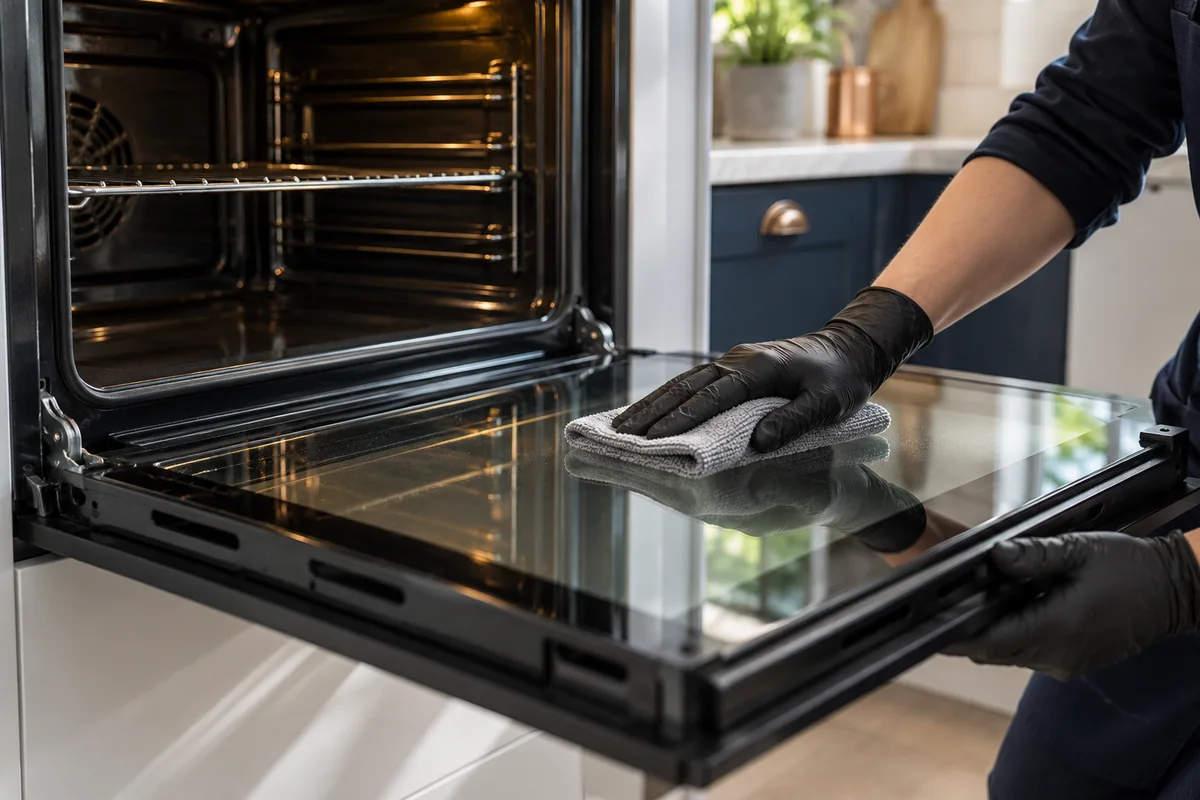
Read the oven before choosing the cleaner
Start with a cool appliance and its instructions. Look at the surfaces rather than treating the whole interior as one material. The floor may be enamel, the sides may have catalytic panels and the door may contain several glass layers. A product suited to a removable metal rack may not belong on any of those surfaces. Knowing the construction saves time and reduces the temptation to scrub harder when the real problem is that the method is unsuitable.
Find the model details if you can do so without moving the appliance or removing fitted parts. A digital copy of the manual may explain cleaning modes, accessories and the limits on abrasives or chemicals. Do not identify a self-cleaning liner purely from its colour or texture. If you are uncertain, start with the manufacturer’s information rather than a generic household recipe. The articles in this category help you organise that information into a practical cleaning task.
Door glass needs patience and a safe approach
Grease on the visible glass can make the oven look dirtier than it is and make it harder to watch food. Once the door has cooled, follow the permitted method and give residue time to soften where appropriate. Avoid sudden temperature changes, hard impacts and tools that can scratch the surface. If the glass is cracked or the edge is damaged, cleaning is not the next step. The component needs appropriate attention before the appliance is used again.
A mark between panes is different from residue on the inside face. Some doors have a manufacturer-approved removal process; others need a more involved procedure. Do not undo hinges or screws simply because another model looks similar online. Heavy glass and spring-loaded hinges can be difficult to handle safely. If your main concern is between the panes, describe that specifically when arranging help. Ask what can be accessed on your model and what must remain in place.
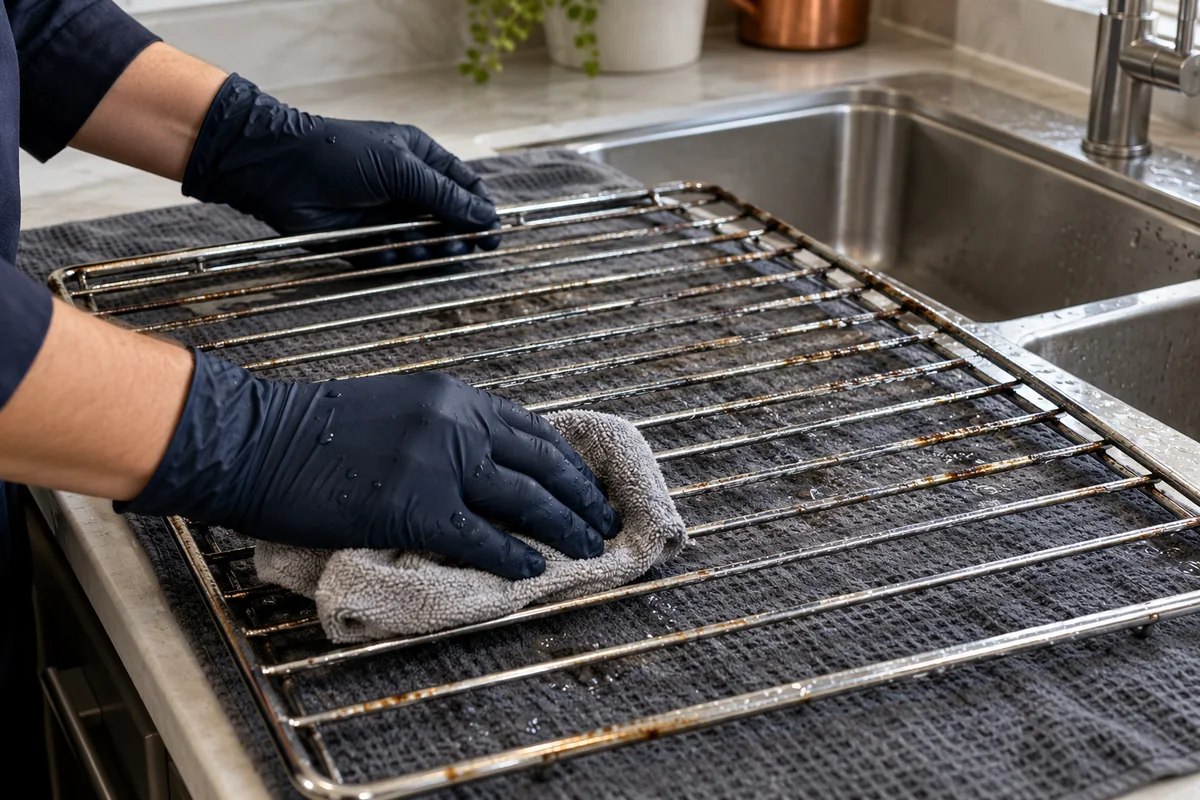
Give racks and trays their own treatment
Racks catch fat, while trays may carry baked-on food, coatings or a non-stick finish. Take stock of what each item is made from before soaking or scrubbing it. Protect the sink or work area if the instructions permit soaking, and avoid assuming that a dishwasher is suitable for every accessory. Harsh pads and unsuitable products can damage finishes that still look robust. A removable item is easier to handle than a fitted component, but it still needs the correct care.
After cleaning, check the pieces and return them to their proper positions once they are ready. A tray that is warped, flaking or heavily damaged may need replacement rather than another attempt at stronger cleaning. Do not place improvised protective sheets on the oven floor or block vents in an effort to prevent future spills. Use appropriate cookware and follow the loading guidance for your appliance. Prevention should not interfere with airflow, temperature sensing or the intended use of the oven.
Understand the limits of specialist liners
Catalytic liners and pyrolytic cleaning programmes are different systems, and neither makes the manual optional. Specialist panels can have restrictions on detergents and scrubbing. A cleaning cycle may require accessories to be removed and the surrounding area to be prepared in a particular way. Follow the model-specific instructions rather than applying a cycle because it appears in a list of settings. If the oven is damaged or behaves unusually, resolve that concern before using a high-temperature cleaning function.
Deposits around a specialist liner may need a different method from the panel itself. Door seals, edges and fitted controls also require care. Do not flood the interior or spray into openings where liquid can reach components behind the visible surface. A thorough clean is about choosing the right treatment for each area, not saturating the whole cavity. If you arrange a service, tell the team about self-cleaning functions and liners so the scope reflects the appliance construction.
Choose a sensible time to clean
Plan the task when the oven is cool and you do not need it for the next meal. Rushing between cooking sessions makes it easier to miss instructions or leave the job unfinished. Remove loose crumbs where the manual allows it and decide whether you are tackling a small accessible spill or a more extensive build-up. Have suitable cloths, protection and waste arrangements ready. Keep children and pets away from the work area and store cleaning products safely afterwards.
There is no single interval that fits every household. Frequent roasting can leave deposits sooner than occasional baking. Keep an eye on visibility through the glass, residue on racks and repeated splashes on the floor. An unusual smell or smoke needs attention to its cause, not merely a calendar reminder. If it appears linked to a fault or unsafe operation, stop and seek suitable help. A clean appearance does not prove that an appliance is working correctly.
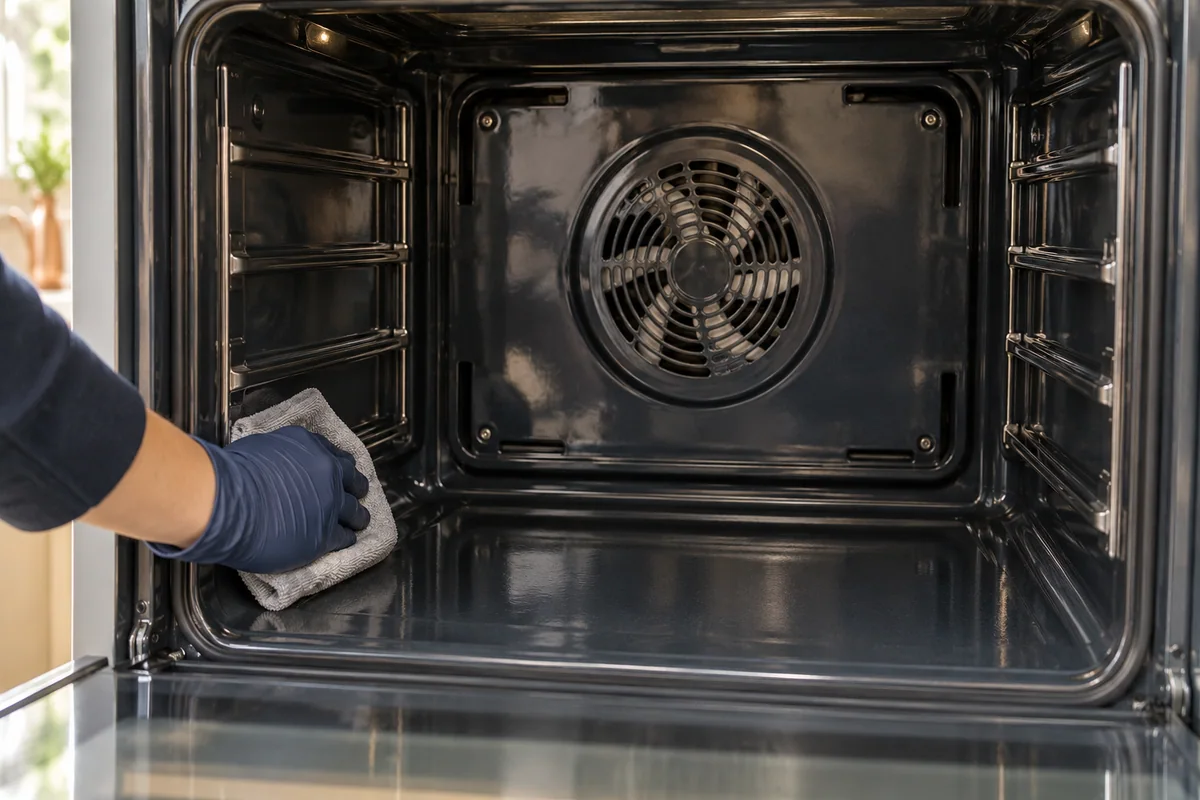
Use the guides to ask better questions
Before booking professional oven cleaning, count the cavities, racks and trays and note the model if possible. Explain whether the concern is glass, interior deposits or accessories. Mention existing damage and any component that is stiff or loose. Ask about the included work and whether a hob or extractor is separate. This turns a broad enquiry into a clear description of the job and helps you compare quotes that may cover different things.
The articles below approach oven care from several angles, including routine upkeep, seasonal cooking and kitchen habits. Choose the one that fits the task in front of you, then apply the model-specific guidance. A useful outcome might be a better maintenance routine or simply recognising that a particular part should not be removed at home. The aim is to make the next step clearer. There is no benefit in a dramatic technique if it is wrong for your appliance.
Oven parts need different cleaning decisions
| Part | First check | Avoid assuming |
|---|---|---|
| Door glass | Damage, cooling and permitted tools | All panes can be removed |
| Racks | Material and accessory instructions | Every rack is dishwasher-safe |
| Trays | Coating, damage and suitable products | Abrasives suit every finish |
| Specialist liners | Exact manufacturer instructions | Ordinary oven cleaner is allowed |
| Seals and controls | Condition and permitted access | Soaking or dismantling is routine |
From the journal

How to clean oven grease and kitchen tiles without damaging the finish
Grease rarely stays inside the oven. It collects on the door, travels onto nearby tiles and settles into the grout behind the hob. Cleaning these surfaces together makes sense, but treating them all with the same product does not. This guide helps you plan a careful kitchen clean around the materials you actually have, rather than a cupboard full of supposed miracle ingredients.
Everyday oven cleaning: a practical guide to spills, racks and glass
The most useful oven cleaning habit is noticing a spill before it becomes part of the appliance. A small sauce splash, a sticky rack and a foggy patch on the door do not all need a full deep clean. They do need the right response. Here is how to separate everyday upkeep from the jobs that deserve more time or professional attention.
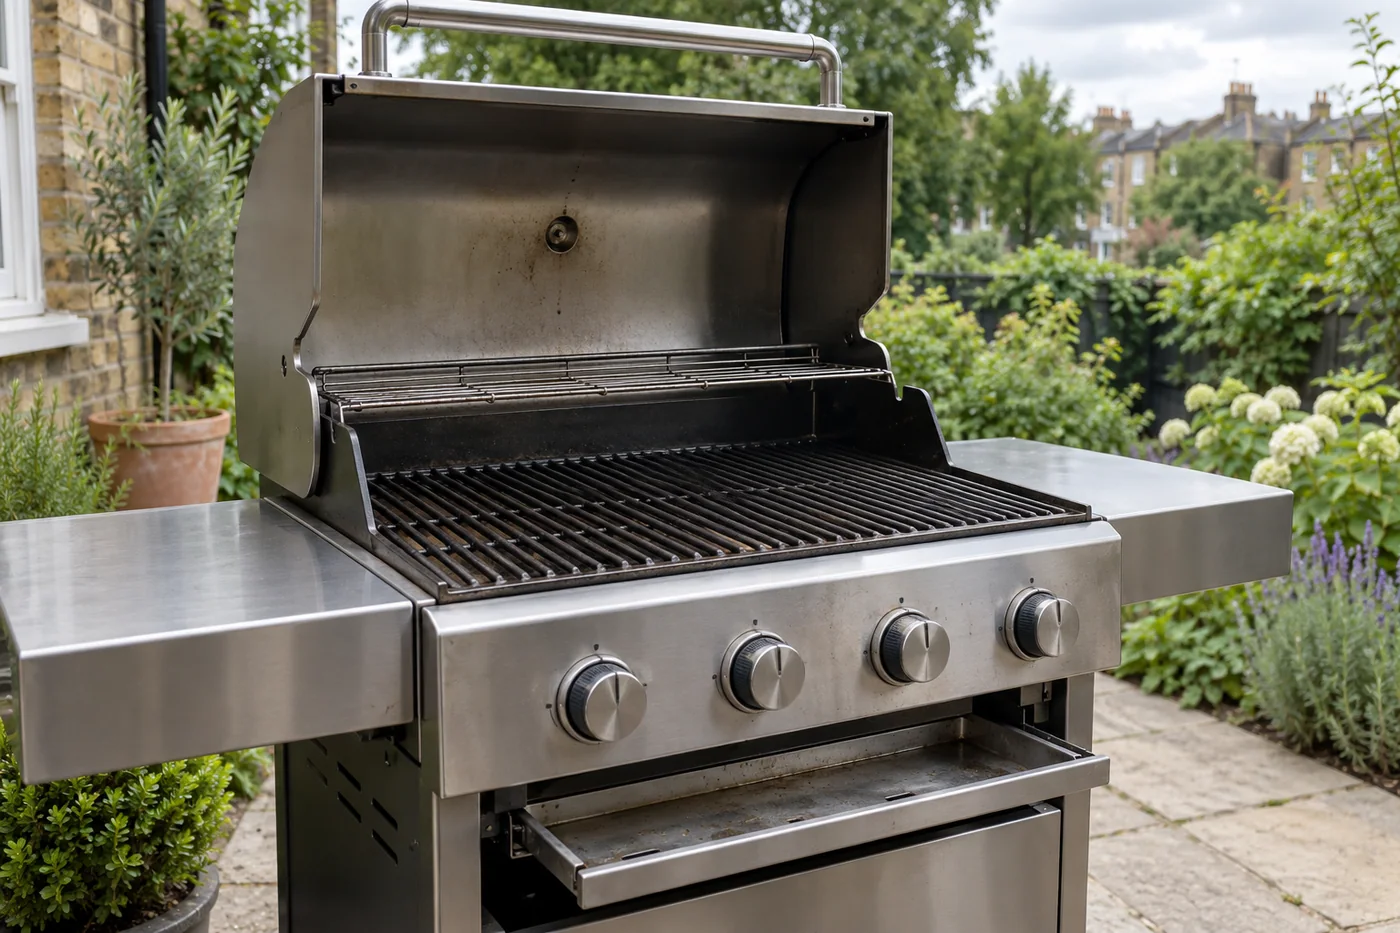
Caring for your BBQ and oven without treating them as the same appliance
A greasy BBQ grate and a sticky oven shelf may look similar, but the appliances around them are very different. Outdoor cookers face weather and storage, while an oven contains glass, seals and specialised liners. Looking after both is easier when you organise the work together but choose the method separately. Here is a practical way to do that without a collection of risky shortcuts.
Getting your oven ready for summer meals and busy weekends
Summer does not necessarily mean the oven gets a holiday. Roasted vegetables, baked fish, family gatherings and food prepared ahead can still keep it busy. Preparing the appliance is mainly about checking its condition and making sure the parts you need are ready. A thoughtful clean before a busy weekend is easier than discovering a greasy tray while ingredients are already on the counter.
Your questions, answered
Why does the glass look dirty again quickly?
Cooking can deposit fat and moisture on the inside surface. Check what is being cooked and whether suitable cookware catches drips. If the mark is between panes rather than on the accessible surface, it needs a different discussion about door construction.
Can I cover the bottom of the oven to keep it clean?
Do not add foil or liners unless your manufacturer specifically allows that use. Covering the floor or vents can affect the appliance. Use suitable roasting dishes and the recommended shelf arrangement to manage drips instead.
Should I soak a non-stick oven tray?
Check the tray manufacturer’s care instructions, including soaking, dishwasher use and allowed utensils. A non-stick surface can be damaged by a method that is acceptable for uncoated metal. If the coating is flaking, assess replacement rather than harder scrubbing.
Does a self-cleaning setting clean every part?
Not necessarily. The manual explains what the function treats, what must be removed and what still needs separate care. Door edges, seals and accessories may have different instructions. Follow the process for your model from preparation through to completion.
What should I tell a cleaner about catalytic panels?
Mention that the oven has specialist liners, provide the model if available and describe any damage. Ask how those panels and the surrounding surfaces will be treated. Do not assume that the same product or removal process applies throughout the cavity.
Talk it through with Savvy
Tell us what needs attention.
Have your postcode, appliance or surface details and preferred day ready. We can discuss the work and quote before you book.