
Oven Cleaning Advice
Cleaning Oven Racks Without Damaging Their Finish
Oven racks are not all the same. Identify the finish first, then choose a cleaning method that respects the metal, coating and any sliding mechanism.
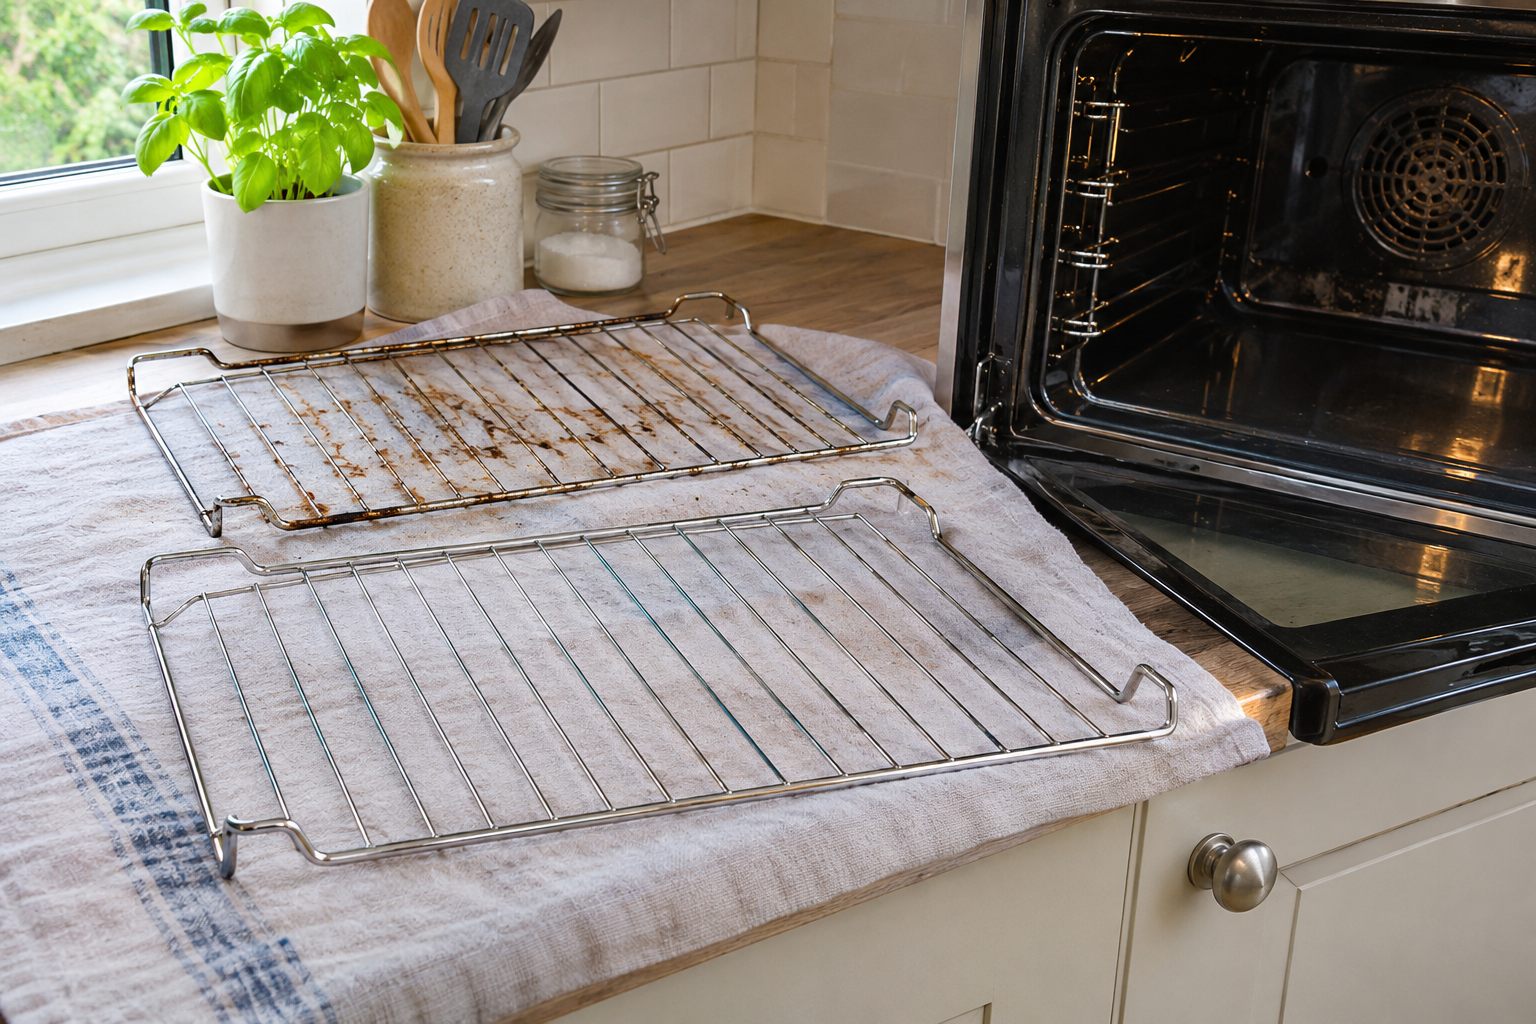
A rack is often the first oven part you can remove, which makes it seem like the simplest to clean. Yet racks vary considerably. Some are bright metal shelves; others have enamel or a specialist coating. Telescopic runners introduce a sliding mechanism that should not be treated like a plain wire shelf. Before leaving anything to soak, identify what you are holding and check the appliance manual. The wrong method can make a rack look brighter for a day while damaging the finish or the way it moves.
The goal is to lift food residue without scraping away a surface or forcing cleaner into a mechanism. This guide covers a domestic oven that is completely cool. It explains a careful household approach and the points at which the manufacturer’s instructions should take over. It does not promise that every old mark will disappear, or that a rack with flaking coating can be restored by cleaning.
Identify the rack before choosing a method
Take a look at the whole component in good light. A simple wire shelf may have a shiny chrome-like finish, but appearance alone is not enough to identify a coating. Some ovens supply dark enamelled accessories or racks designed for a self-cleaning programme. There may also be a grill pan, tray, removable side supports or extendable shelf runners. These are separate parts with separate care rules. The manual usually names them and explains which can be removed and how they should be cleaned.
Pay particular attention to anything that slides on bearings or rails. Grease and cleaning solution can enter the mechanism, and soaking may remove lubricant or leave water where you cannot dry it. Do not assume a runner should go into a bath simply because it detaches from the oven wall. The same caution applies to racks with plastic stops, unusual clips or a finish that is already flaking. Photograph the position of unfamiliar parts before removing them if the manual permits removal.
What actually sticks to a shelf
Roasting juices, melted cheese and fat droplets can bake onto the bars. Deposits accumulate at the bends and welded joints, where a flat cloth makes poor contact. A black patch may be burnt food, discolouration of the finish or damage beneath it. Treat it as residue only after checking whether it has a raised edge. If a coating is chipped or a wire is rough with corrosion, more forceful scrubbing is unlikely to help and may expose a larger area.
Fresh spills are easier to remove once the appliance has cooled. Let the shelf cool fully before handling it; even when the oven cavity seems cool, metal can hold heat. Lift loose pieces with a soft cloth or suitable non-metal implement. Avoid levering a hard deposit against a wire, as that can scratch the finish. Work on a protected surface so the rack does not scratch your sink, bath or worktop while you clean it.
A gentle method for a plain removable rack
If your manual allows washing the plain rack in water, prepare a basin or tray large enough for it to lie without bending. Protect the surface underneath with an old towel or mat, and use warm water with a modest amount of mild washing-up liquid if permitted. Short soaking can soften grease, but do not assume overnight immersion is better. Check the rack periodically and keep any attached parts that should remain dry out of the water.
- Remove the cool rack using the route shown in the oven manual.
- Brush or wipe away loose crumbs before they spread through the wash water.
- Wet only the parts the manufacturer allows, and give stubborn residue a little time to soften.
- Use a soft brush or non-abrasive cloth along the bars and around their bends.
- Rinse away detergent thoroughly and dry the rack, including joints and contact points.
- Refit it in the correct position and check that it sits level before the next use.
Keep the pressure light. Repeating a careful pass is preferable to grinding away at one dark patch. If a deposit will not shift, check the manual for an approved cleaner for that finish. Do not mix products or improvise with a strong chemical because a social-media clip promises instant results. Wear gloves as directed by any product you use, protect nearby materials and follow the stated contact time rather than extending it indefinitely.
Chrome, enamel and dark coatings
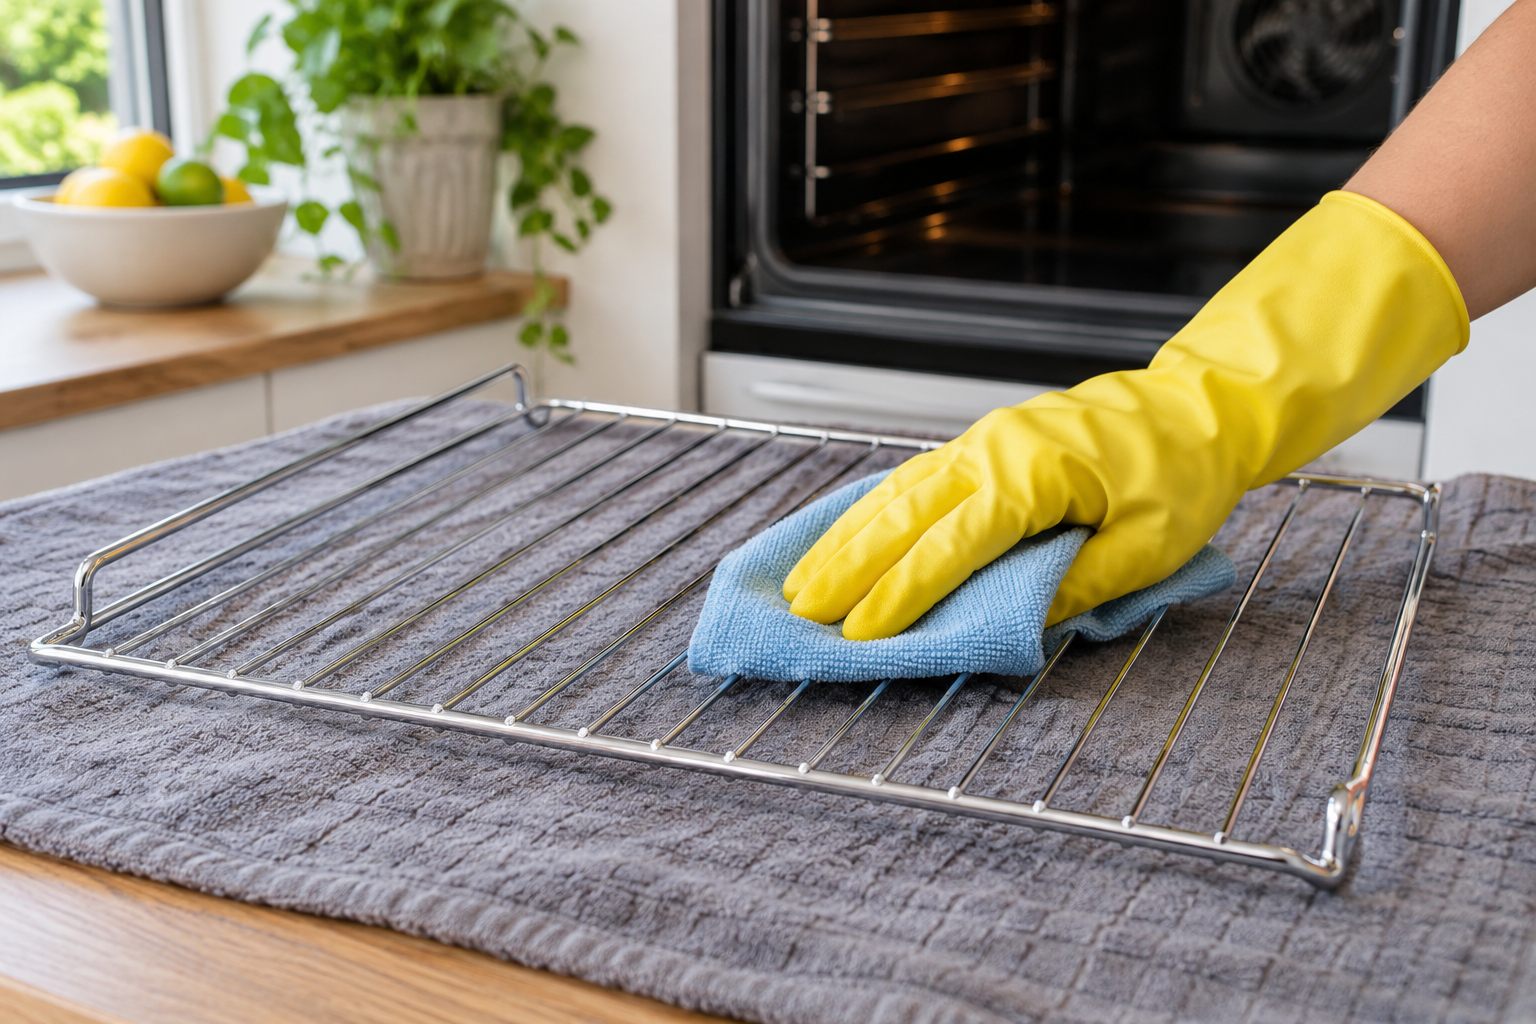
A shiny shelf may dull or spot if an unsuitable chemical is left on it. An enamelled surface can chip at an edge when hit against a hard sink. A dark coating may have manufacturer restrictions that are easy to miss because it looks robust. These finishes should not be reduced to one universal recipe. Read the exact cleaning advice for your model. If the manual allows a dishwasher cycle for one accessory, do not extend that permission to a different rack or runner.
Check the rack after drying in the same light used before cleaning. A residual brown stain may be harmless discolouration, while a rough, flaking or rusted patch changes how you should use and maintain the accessory. Do not hide a failing coating under oil or polish. Ask the appliance manufacturer or an appropriate parts supplier whether the exact shelf should be replaced. The model number matters; a rack of roughly the right width is not necessarily a safe fit.
Treat telescopic runners as a mechanism
Extendable runners make it easier to pull a hot dish towards you, but their moving parts change the cleaning plan. Grit left in the track can make the motion rough. A strong degreaser or immersion can also affect the components that let it glide. The manual may recommend wiping only the exposed surfaces with a damp cloth while the runner remains fitted. Follow that advice, and do not force a stuck rail open or closed to reach a hidden patch.
Some oven programmes require telescopic runners to be removed before a high-temperature cleaning cycle. Others have accessories made for particular programmes. This is another reason to identify each component rather than assuming all shelves can remain inside. If the rail has become stiff, bent or loose, cleaning may not restore its movement. Ask the manufacturer about a compatible replacement or repair route before relying on it to support a heavy roasting dish.
Why common shortcuts cause trouble
Abrasion can remove a deposit and the protective finish together. Wire wool, metal brushes and sharp scrapers are therefore poor first choices. Leaving a rack in a plastic bag with a powerful cleaner may concentrate fumes and expose the finish for longer than its instructions allow. A bath can provide space, but the rack may scratch the enamel and leaves you with greasy water to handle. If you do use a large basin, protect it and keep food preparation equipment separate from the cleaning job.
There is no need to make a rack look factory-new to make it usable. The sensible standard is an accessory free from loose food, excessive grease and cleaner residue, with its finish and fit intact. A darkened weld that remains after an approved gentle clean may be cosmetic. A peeling surface, sharp edge or damaged support deserves a different decision. Take a photograph and ask the appliance maker rather than testing a damaged rack under a heavy dish.
Refitting and checking before cooking
Dry every part before putting it back. Check the shelf orientation and the correct guide level in the manual; some racks have a raised stop intended to face a particular direction. Make sure both sides rest on their supports and slide as intended without tilting. If you removed side supports, confirm they are seated properly before loading a tray. This simple check matters more than a final polish, because an unstable shelf can spill food or cause a burn.
For ongoing care, deal with accessible spills after cooling rather than waiting for several meals to bake them on. Use a roasting dish sized to catch juices, without blocking airflow or placing foil where the manual forbids it. Inspect racks when you take them out for a wider oven clean. It is easier to spot a loose support or damaged finish when the component is dry and in good light.
When to ask for a professional clean
Heavy baked-on deposits on the racks often come with grease on the cavity and glass. If you would rather arrange a thorough appointment, discuss our London oven cleaning service and tell us the appliance type, number of racks and whether any accessory has a special finish or telescopic mechanism. The scope can then be agreed for what you actually own. The site describes cleaning suitable removable parts, but a broken rail or failing coating is a parts issue, not a promise that cleaning will repair it.
Keep the rack’s identity at the centre of the decision. Plain wire, coated shelf and sliding runner can share the same oven but require different care. A few minutes with the manual and a gentle test on an accessible area will usually tell you whether to continue cleaning or seek model-specific advice. That approach protects the finish and leaves the accessory ready to support the next meal safely.
Would you like help with the cleaning?
Tell Savvy Oven Cleaning about the appliance or surface, its condition and your postcode. You can discuss the scope and quote before booking.