
Oven Cleaning Advice
How to Clean Oven Knobs and Control Panels Safely
Grease gathers around oven controls, but water and vigorous scrubbing can create new problems. Identify your control type, use a barely damp cloth and know when to stop.
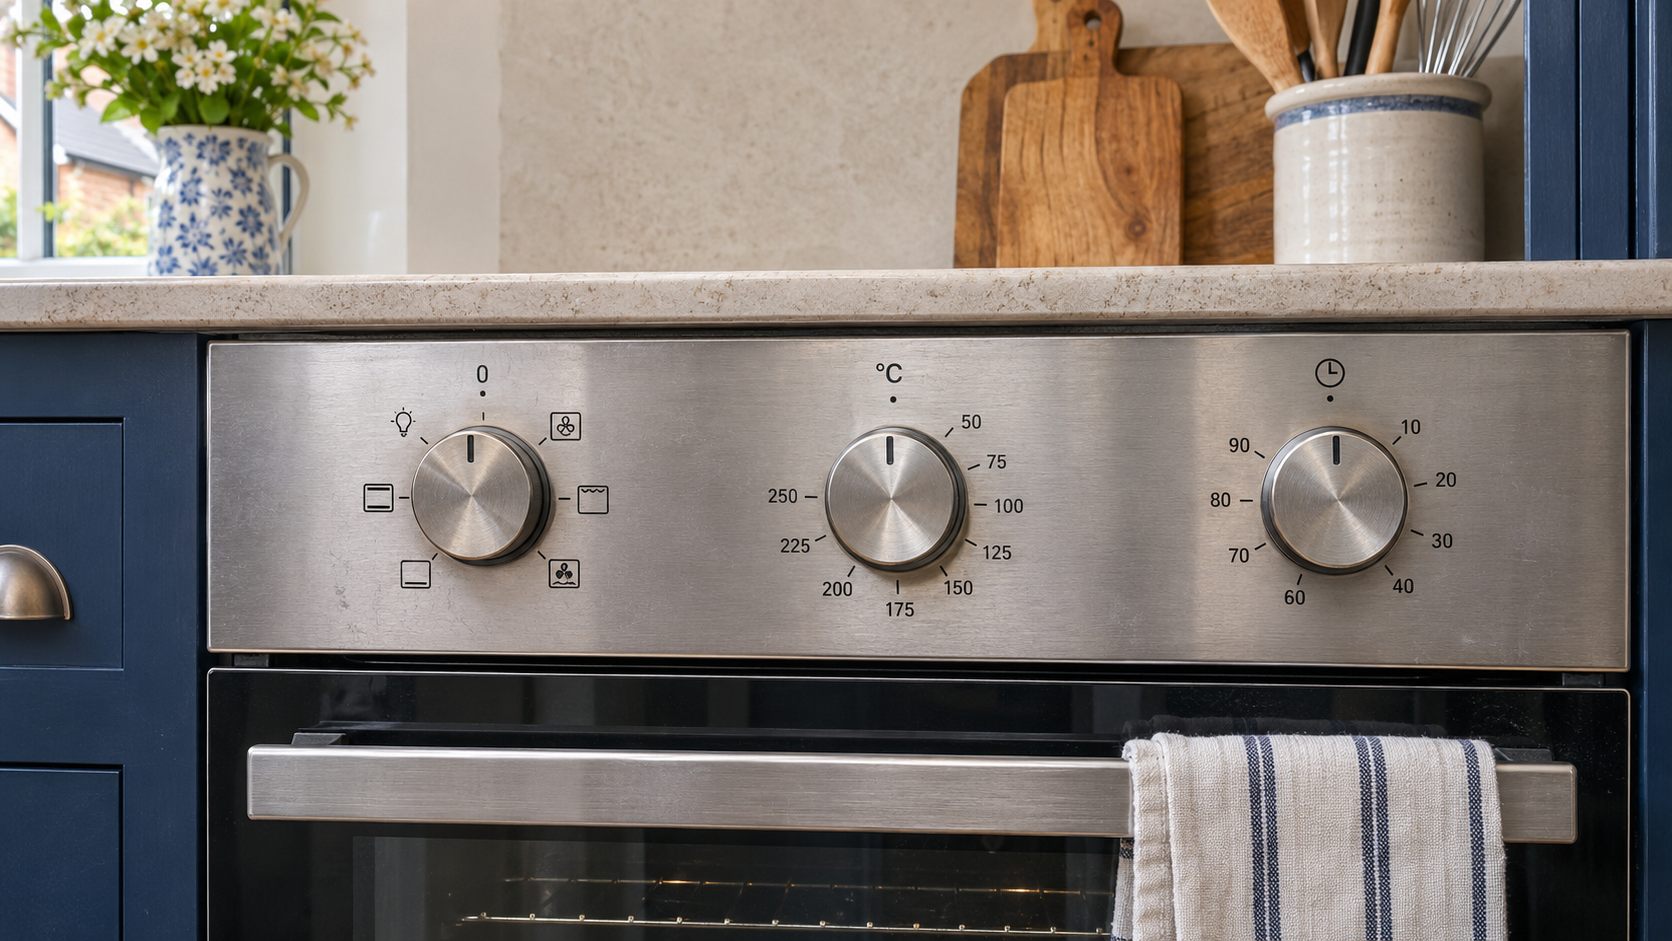
Oven knobs are easy to overlook until a sticky ring appears around each control. Cooking vapour settles on the front of the appliance, fingers add a little oil, and fine dust catches in the residue. The temptation is to spray the panel and scrub until it feels clean. That is precisely where a modest job can become an expensive one: switches sit behind the fascia, printed settings can rub away, and some knobs are not designed to be pulled off by the owner.
The safest approach begins with the appliance instructions and the type of control in front of you. A traditional removable dial, a fixed dial with a narrow gap, a membrane keypad and a touch panel each need a slightly different touch. You can usually deal with ordinary surface grease without dismantling anything. If a control is damaged, unusually hot, loose or behaving unpredictably, cleaning is not the answer: stop using the appliance and seek appropriate technical advice.
Identify the control before you clean it
Look closely at the layout while the oven is cool. Are there separate knobs for oven function, temperature and hob rings? Are the settings printed on a surrounding fascia, on the knob itself or behind a glass surface? Is there a raised seam around the control, or a completely flush panel? Make a note of each knob’s position before moving it. A photograph on your phone can help you return a removable control to the right spindle and orientation.
Do not assume that a knob which looks removable should be pulled free. Some controls simply slide off, while others have a retaining screw, collar or manufacturer-specific mechanism. Forcing one can crack the plastic or damage the switch behind it. Check the manual for your exact model. If you cannot find an instruction for owner removal, clean around the knob in place. The little extra residue in a narrow recess is preferable to a broken control.
Prepare a small, controlled cleaning area
Switch the oven off, let it cool completely and keep children from turning the controls while you work. If the manual asks you to isolate the appliance before cleaning the control panel, follow that instruction. Do not reach behind the fascia or touch wiring. Protect the worktop or nearby hob if dirty cloths are likely to rest there. Gather two soft microfibre cloths, warm water, a mild washing-up liquid that the manufacturer permits, and cotton buds only if the manual allows careful work around edges.
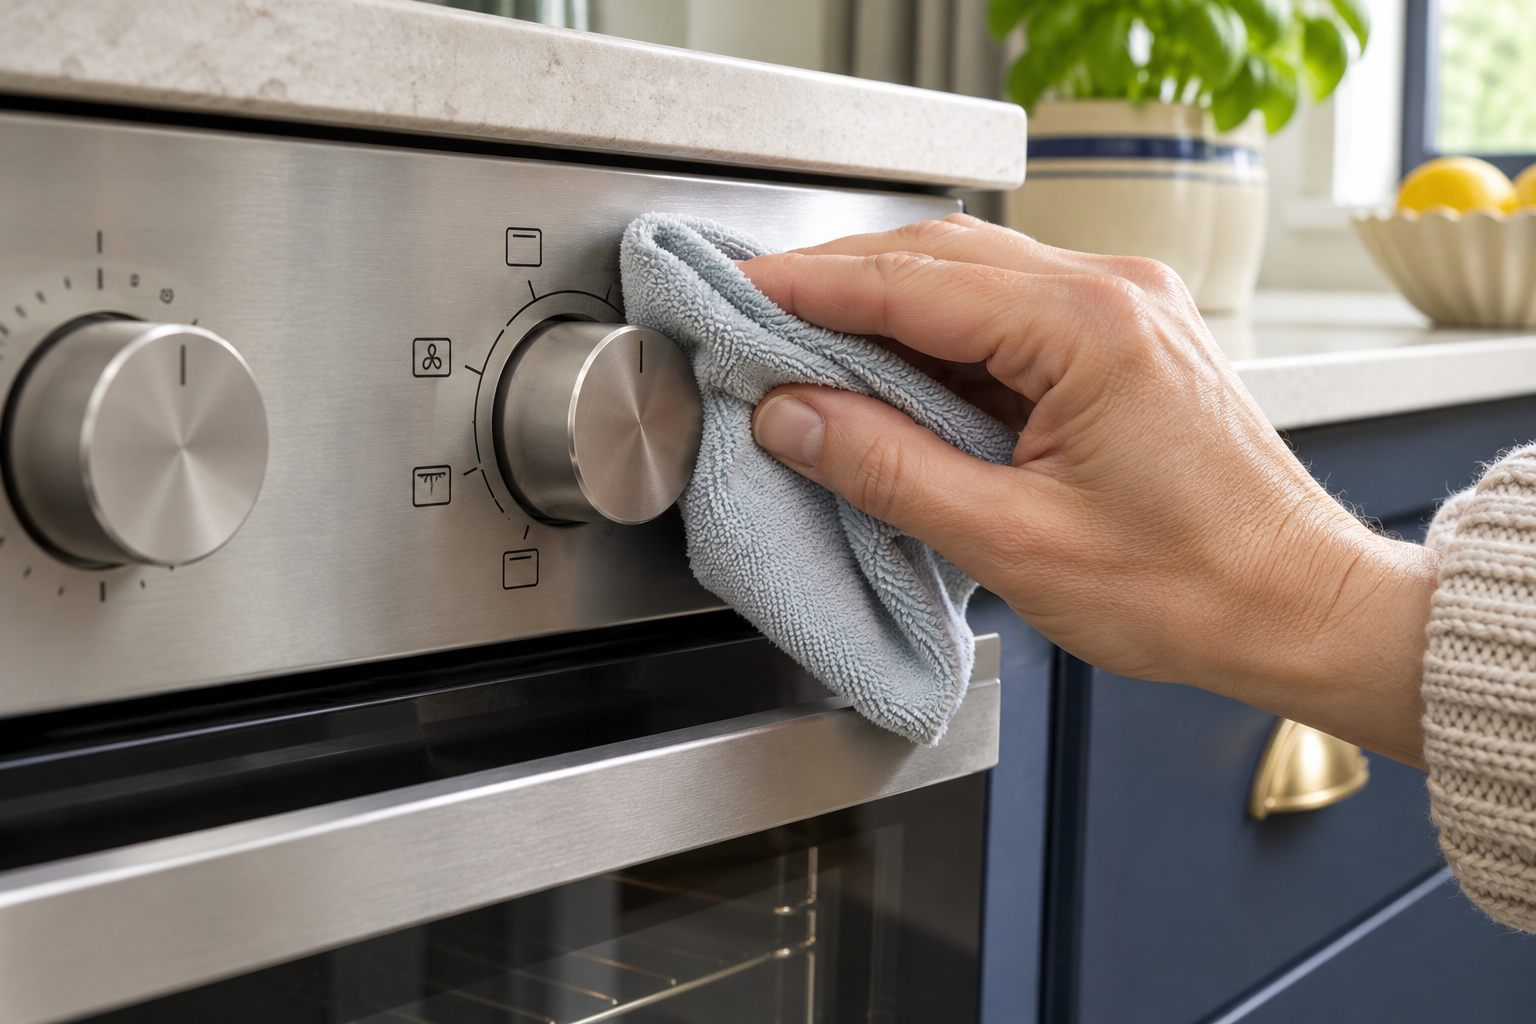
Use the smallest amount of moisture that will lift the grease. Add a little washing-up liquid to water, dampen a cloth and wring it out thoroughly away from the appliance. It should feel barely damp, not drip when squeezed. Keep a second cloth dry for the finishing pass. Never spray a cleaner directly onto controls: liquid can travel through seams or around shafts even when the front looks sealed. Avoid abrasive pads, scourers and strong solvents unless the maker expressly recommends them for that finish.
Clean fixed knobs without flooding the gap
For a fixed knob, start with the broad front surface. Wipe it gently, turning the cloth to a clean section as it picks up grease. Move to the outer edge and the surrounding fascia, working from the top down so loosened residue does not fall onto an area you have finished. If grime remains where the knob meets the panel, fold the cloth over a fingertip and trace the seam. A barely damp cotton bud may help in a shallow, visible groove, but do not push liquid or fibres into the opening.
Keep the markings in mind. Printed temperature numbers and function symbols can be more delicate than the metal or glass around them. Repeated rubbing, especially with an abrasive cleaner, may remove ink permanently. If the printed face does not release the stain with a mild wipe, stop and check the appliance guidance before trying anything stronger. A faint mark is less serious than an unreadable temperature scale. Finish with the dry cloth so no film is left at the rim.
If the manual permits knob removal
Only remove a dial when the manufacturer’s instructions clearly say it is user-removable. Photograph the panel first, then follow the stated direction and method. Keep knobs in order rather than putting identical-looking parts into one bowl; a fan setting and a hob setting can look alike while carrying different markings. Do not use a metal implement to lever a tight knob. If it does not move as described, leave it and ask for help rather than increasing force.
Clean the detached knob according to its material and the manual. Some simple plastic dials tolerate a mild hand wash; others contain inserts, printed faces or components that should not be soaked. Wash only if permitted, rinse carefully where appropriate, and dry every part completely. On the exposed fascia, wipe around the spindle with a controlled, barely damp cloth. Keep moisture out of the switch opening. Refit only when everything is dry and the control is aligned as the manufacturer specifies. Check that it turns normally without resistance.
Treat touch panels and keypads differently
A touch display may activate while you wipe it, so use the manufacturer’s lock or off setting where provided. Clean the glass or smooth front with a soft cloth that is just damp enough to remove fingerprints. Work around the edge of the display rather than pushing liquid into it. For a raised button or membrane keypad, pay attention to the joins: a cloth can lift surface grease without pressing fluid into a button. Never use a scraper on a touch interface, even if the nearby hob has a scraper-safe glass surface.
Some panels have printed or coated finishes that react badly to alcohol, citrus cleaners or descalers. A product sold for a kitchen is not automatically safe for every appliance fascia. Read both the product label and oven manual. Where they disagree, the appliance guidance should govern the panel. If a mark persists after a mild wipe, identify whether it is grease, discolouration or worn coating before attempting another product. More pressure rarely fixes a surface whose finish has already changed.
What to do about stubborn grease
Old deposits can feel like varnish near a frequently used control. Give the mild solution a little time on the cloth rather than pouring more onto the fascia. Hold the damp cloth against the accessible greasy patch briefly, then lift and wipe. Avoid leaving wet fabric draped over switches. Repeat with a fresh area of cloth if the deposit softens. For a tight corner, a soft brush used dry may dislodge crumbs before the damp wipe, provided it cannot shed bristles into an opening.
If residue is underneath a knob you cannot remove safely, do not improvise a dismantling method. A specialist oven clean may address suitable removable components and surrounding surfaces, but the exact scope depends on the appliance. When contacting our London oven cleaning service, describe the model and show the affected controls in a photograph. Ask what can be cleaned without disturbing the switch assembly. Cleaning cannot repair damaged contacts, faded markings or a faulty control.
Know when the problem is not dirt
A dial that sticks because of surface grease may improve after careful cleaning, but one that spins without changing the oven setting, clicks unpredictably or feels unusually hot needs assessment. The same applies to a touch panel that fails, turns the oven on unexpectedly or shows an error. Stop using the appliance if you suspect an electrical or gas fault. Follow the manufacturer’s safety instructions and contact a suitably qualified repair professional. Do not pour cleaner into the control in an attempt to free it.
Look for physical damage too. A cracked plastic knob can lose its grip on the shaft, while missing symbols make it hard to choose a safe temperature. A warped fascia or moisture visible behind glass calls for more than a routine wipe. Photograph the issue, note the model number and explain when it started. If the problem followed a spill, tell the repairer what reached the controls. Good information is more useful than further scrubbing.
Keep the panel easier to maintain
After a cooking session, wait until the appliance is cool and wipe accessible controls before splashes harden. A quick dry or barely damp pass is usually easier than a major clean months later. Wash greasy hands before adjusting settings when practical, and keep a separate cloth for the panel rather than moving food residue from a worktop onto the controls. Check the area around the extractor too: cooking vapour can settle along the full front of the cooker.
Make control cleaning one small part of a broader routine. Door glass, shelves and the cavity need their own methods and limits; do not treat the whole oven with the same spray. If you are planning a deeper visit, note the controls while you inspect the appliance and agree the work in advance. Our professional oven cleaning guidance explains the domestic service scope, including suitable removable parts. The practical rule for the fascia remains simple: identify it, use minimal moisture, preserve the markings and stop when the issue looks mechanical or electrical.
Would you like help with the cleaning?
Tell Savvy Oven Cleaning about the appliance or surface, its condition and your postcode. You can discuss the scope and quote before booking.