
Oven Cleaning Advice
What to Do When Food Spills on the Oven Floor
A bubbling dish can leave food on the oven floor. Pause, let the appliance cool and identify whether the spill is on a removable tray or the fixed cavity before cleaning.
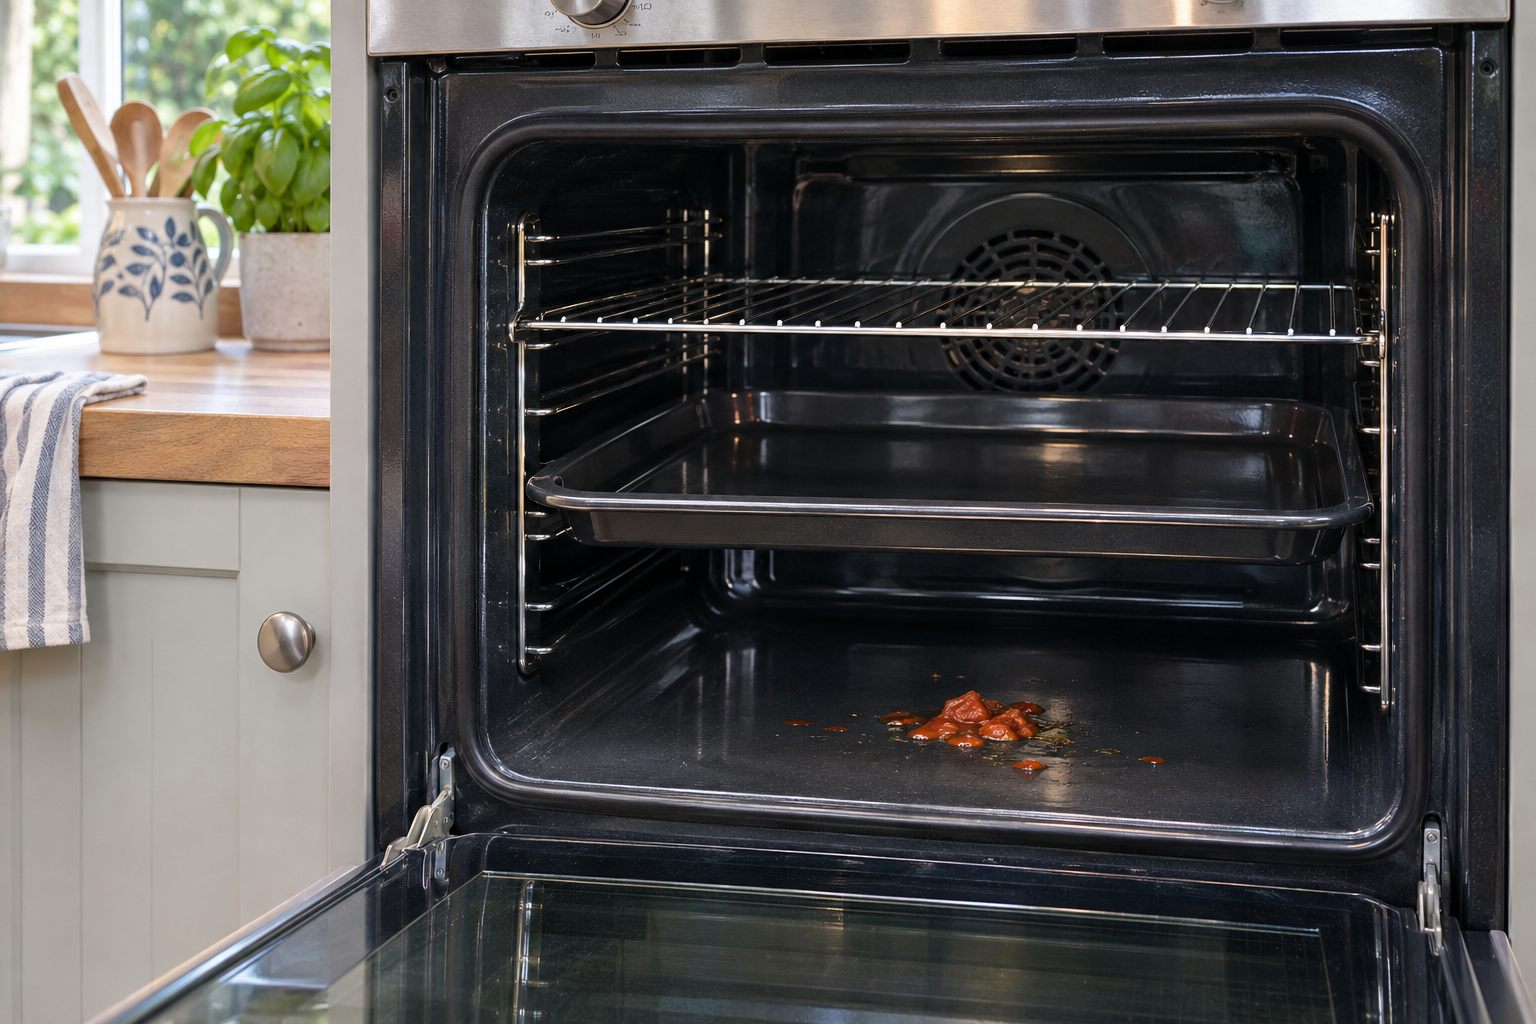
A casserole bubbles over, a roasting tin leaks, or a piece of food falls between the rack bars. The result may be a spot on a removable tray or a mess on the oven’s fixed floor. Those situations look similar when you glance through the door, but they are not the same cleaning job. The first decision is about the appliance, not the stain: is it safe to keep cooking, and what surface has caught the spill?
This guide assumes an ordinary domestic oven with no gas smell, electrical fault or visible damage. If you notice unusual smoke, flames, a strong burning smell that persists, or anything that suggests the appliance is unsafe, switch it off when safe to do so and follow appropriate emergency or manufacturer guidance. Do not reach into a hot cavity to rescue a dropped item. Let the oven and its contents cool before assessing the residue. Your model’s manual takes priority over any general cleaning advice.
What to do while the oven is still hot
A small spill during cooking may not require an immediate interruption, but it should not be ignored if it is smoking heavily or affecting the appliance. Use your judgement and the oven instructions. Turn the heat off if the situation is concerning, keep children and pets away, and avoid opening the door repeatedly to investigate. Opening a hot oven can release a burst of heat and smoke. Do not spray water or cleaner onto the hot floor, pour salt on the mess, or try to scrape it with a utensil.
If there is a genuine fire, follow the applicable emergency advice and do not attempt an improvised cleaning response. A domestic spill is frustrating, but the priority is preventing burns and dealing with the appliance safely. Once the oven is off and cooled completely, the visible residue can be assessed properly. Metal trays, racks and the floor can retain heat longer than the air inside, so give them enough time rather than assuming that a cool-looking door means every surface is safe to touch.
Identify what caught the spill
Some ovens have a removable baking tray or drip tray placed on a shelf; others have a fixed enamelled floor that is part of the cavity. A dark panel or textured area may be a specialist liner. Do not assume that because a panel has an edge, it is meant to be lifted out for household cleaning. Find the make and model in the manual and check the diagram of removable accessories. Note where the spill sits relative to heating elements, vents, a fan cover and the door seal.
A spill on a loose tray can often be handled outside the oven after cooling, provided the manufacturer allows the tray to be washed. A spill on the fixed floor needs more control: cleaner and water should not run into openings, and scraping can damage enamel. A spill on a catalytic or other specialist liner may have entirely different instructions. Treat the surface type as the deciding factor before choosing a cloth, brush or product.
Start with loose food, not a bottle of cleaner
When everything is cool, remove accessible loose pieces with a soft cloth or a suitable non-metal utensil, taking care not to push crumbs into vents or around a heating element. Protect the kitchen floor and nearby surfaces if you remove a tray. Check that no food is trapped in the door channel or against the seal. A clear first pass shows the size of the remaining baked-on patch and stops loose debris from turning into a greasy paste when moisture is added.
Do not dismantle a fan cover, element or liner to chase a crumb unless the manual explicitly gives a routine maintenance procedure for that component. If food has gone into an inaccessible area or the oven behaves differently afterwards, seek appliance guidance. A cleaning tip cannot tell you whether a hidden component has been affected. Resist the urge to run the oven at a very high temperature to “burn off” a spill unless that is a manufacturer-approved programme and the appliance is in suitable condition.
Cleaning a removable tray
Place a cool, removable tray on a protected surface or in a basin large enough to hold it without bending. Check whether it is enamelled, non-stick or another finish, then follow its care instructions. Warm water and a modest amount of mild washing-up liquid may soften food if the maker permits them. Let the deposit loosen rather than attacking it immediately with a metal scraper. A soft brush can reach corners without damaging a sound finish when used gently.
Rinse and dry the tray thoroughly before returning it. Inspect for chips, warping or a coating that is peeling. Cleaning will remove residue but cannot restore a failed finish. Do not return a damaged tray to service without checking the manufacturer’s advice. If the tray was an improvised liner rather than an oven accessory, do not put it back automatically. Confirm that it is suitable for your model and its position does not obstruct airflow or heating.
Cleaning a fixed oven floor carefully
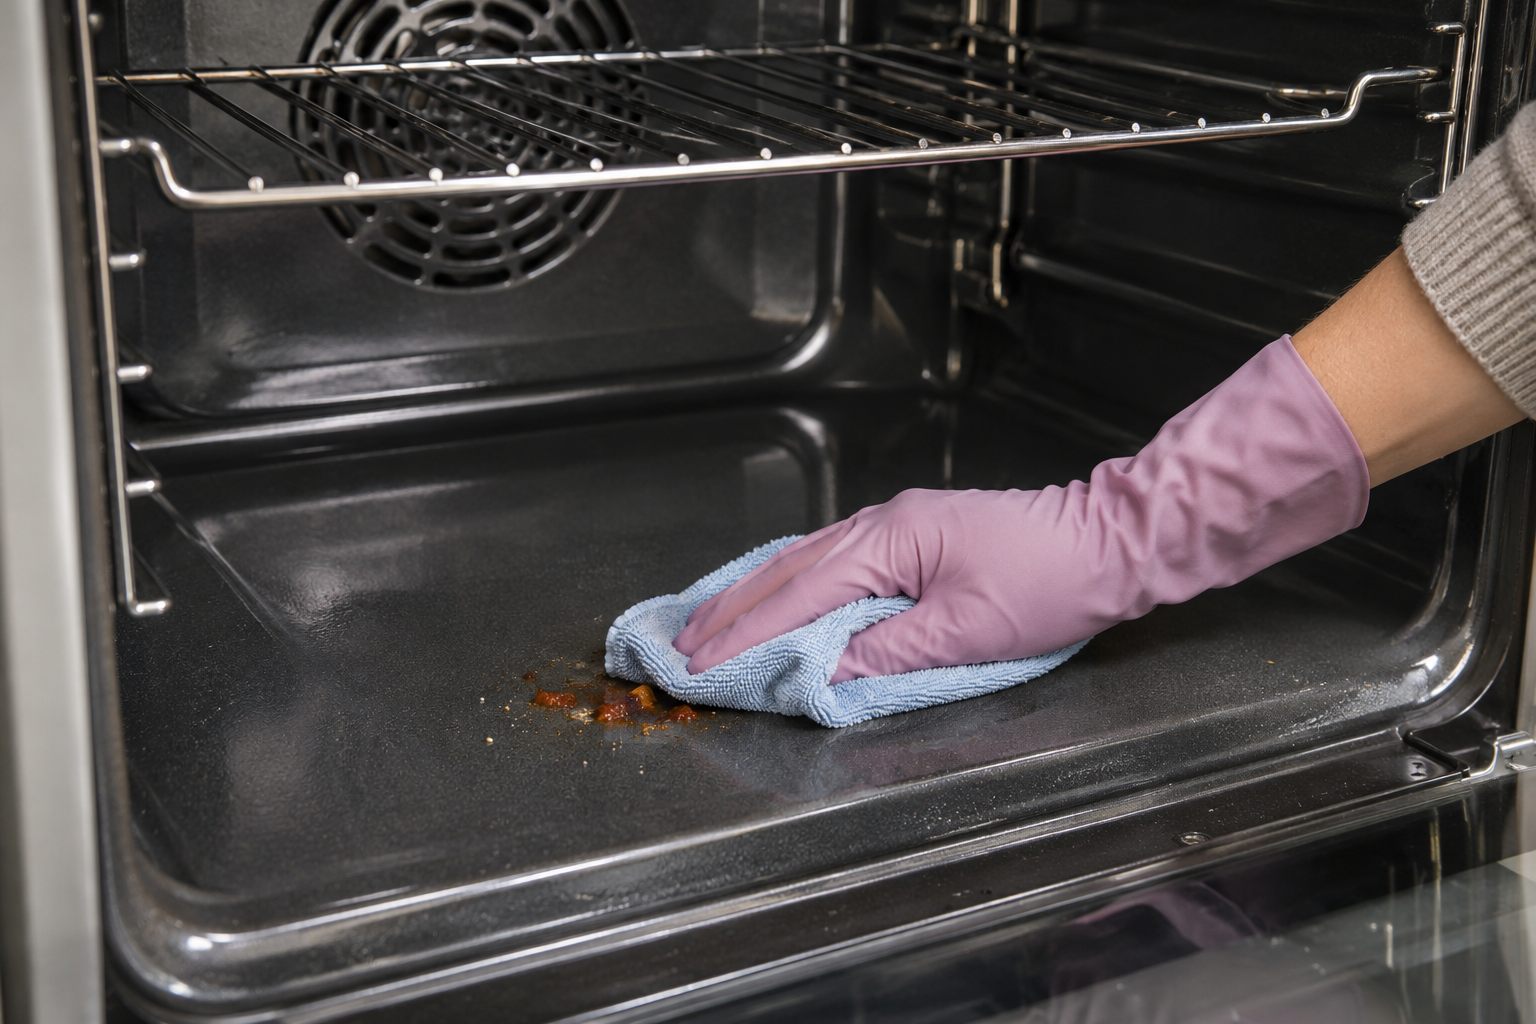
Read the manual for the cavity material and permitted cleaner. For suitable enamel, a lightly damp cloth may lift a fresh mark. If the residue has hardened, give a small patch the contact time allowed by the product instructions rather than rubbing forcefully. Keep moisture controlled and away from seams, vents, heating elements and electrical openings. Apply any approved product to the cloth or sponge as directed, rather than flooding the floor. Work in sections so you can see what is changing.
Do not line the oven floor with aluminium foil to hide the mark or catch future spills unless the manufacturer explicitly says that arrangement is suitable. Foil can interfere with heat distribution and may damage the oven surface. The same caution applies to reusable liners: suitability depends on the model and where the liner is placed. A dark patch left after a safe clean may be discolouration rather than active residue. More pressure is not always progress.
A simple cooled-oven sequence
- Switch off and allow the oven, racks and spill to cool fully.
- Identify the surface from the manual: removable tray, fixed enamel, specialist liner or another component.
- Remove loose food without pushing it into vents or crevices.
- Test the approved gentle cleaning method on a small accessible area.
- Lift softened residue with a non-abrasive cloth, changing to a clean part of the cloth as needed.
- Remove permitted product residue, dry the surface and inspect for damage before refitting accessories.
Pause if the surface looks chipped, a liner begins to flake or the spill seems to have entered an inaccessible opening. Photograph the area and consult the manufacturer or a suitable appliance specialist. The aim is a usable, safe appliance, not winning a contest against one stubborn spot. Trying three stronger products in succession makes it harder to know what caused a new mark and raises the risk of mixing residues.
When a self-cleaning programme is appropriate
Pyrolytic, catalytic and steam-assisted cleaning are different systems. One may require racks and runners to be removed; another has restrictions around the lower cavity or door seal. Do not assume a high-heat cycle is the best response to a fresh food spill. Check the exact instructions, remove only what the manual directs, and assess whether heavy loose residue should be cleared first. If the oven is damaged or not closing properly, seek advice before running any self-cleaning cycle.
Steam-assisted programmes may use a measured amount of water in a specified location. Adding extra water or cleaning chemicals is not an improvement unless the instructions say so. The programme can loosen deposits, but you still need to wipe the approved surfaces after cooling. Treat it as part of the appliance’s documented care routine, not a universal rescue method for burnt sugar, melted plastic or an unknown spill.
Reducing spillovers next time
Choose a dish with room for bubbling liquid and place it on a stable rack at the height the recipe and manual recommend. A suitable roasting tin beneath food that may drip can help, provided it does not block airflow or conflict with the manufacturer’s instructions. Check that a rack is level before loading a heavy casserole. Avoid overfilling a tray when carrying it to the oven, and leave enough space around dishes for heat to circulate as designed.
After cooking, wait for cooling and deal with accessible fresh marks before the next heat cycle hardens them. A short, careful wipe is usually easier than an ambitious rescue clean later. Keep cloths used on oven grease separate from food preparation cloths and wash them appropriately. These small habits are about making the next meal simpler, not keeping a working oven in showroom condition at all times.
When to ask for help
A heavy baked-on deposit across the floor, racks and door may justify a thorough clean. Our professional oven cleaning service in London covers suitable accessible areas and removable components, with the scope agreed for your appliance. Explain what spilled, where it landed and whether your oven has a specialist liner or self-cleaning feature. That lets the appointment be discussed honestly. A damaged surface, operating fault or inaccessible contamination may need manufacturer or appliance repair advice instead.
The key distinction is simple: let the oven cool, identify what caught the spill, and clean only with a method suitable for that exact surface. A removable tray gives you more room to work; a fixed cavity floor demands controlled moisture and respect for nearby components. Acting on that distinction prevents a routine cooking mishap from becoming damage caused by the clean-up.
Would you like help with the cleaning?
Tell Savvy Oven Cleaning about the appliance or surface, its condition and your postcode. You can discuss the scope and quote before booking.