
Oven Cleaning Advice
Why Does Oven Door Glass Stay Cloudy After Cleaning?
A cloudy oven door can have several causes. Find out what is safe to clean, what may be trapped between panes and when to stop scrubbing.
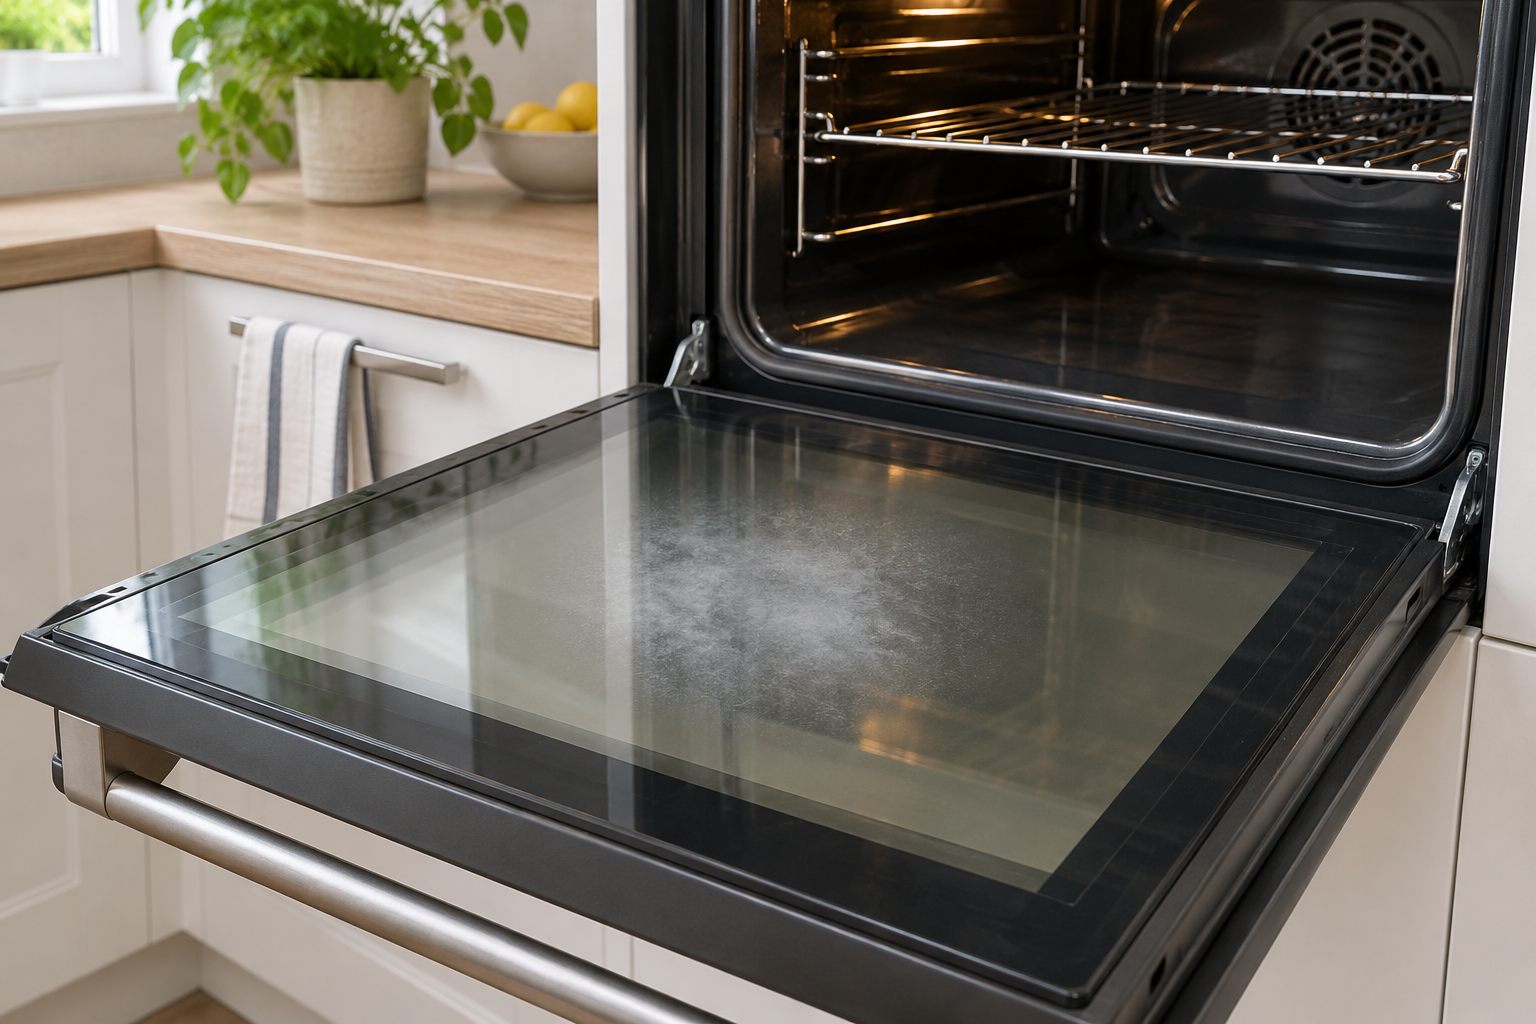
You have wiped the oven door, dried it carefully and stepped back expecting a clear view inside. Instead, the glass still looks grey, streaky or faintly white. Reaching for a stronger cleaner feels tempting, but cloudiness is a description of what you see, not a diagnosis. A film on the surface, moisture in the edge of the door, residue between glass panels and damage to the glass can look similar from a few steps away. They call for different responses.
Begin with the oven switched off and fully cool. Read its manual before trying a method, especially if the door has a specialist coating, removable panes or a self-cleaning programme. This guide helps you work out where the mark sits and what a careful household clean can reasonably achieve. It does not ask you to dismantle a door, test a suspect appliance while hot or use an abrasive to chase a mark that might not be removable.
Find which side of the glass is cloudy
Open the cool door and look at it from several angles in daylight or a steady kitchen light. Move your viewpoint so reflections shift. A spot that changes shape as you move may be a reflection; a spot that stays in the same position on the panel is more likely to be a deposit or mark. Look at the accessible inner face, then the outer face, without assuming they have the same finish. A clean fingertip on the outside can help locate a surface smear, but avoid touching the inner pane repeatedly because fingerprints add to the puzzle.
If the haze seems to sit deeper than either accessible face, the door may contain more than one pane. Many ovens do. Vapour and fine residue can sometimes become visible between panels, but their construction varies. Check the manufacturer’s instructions before considering removal. Even when a manual explains how to take out an inner pane, it may specify the order, orientation, clips and safe refitting method. If those instructions are missing or unclear, leave the door assembled.
What ordinary cooking grease looks like
Cooking vapour settles on the inside of a door, and repeated heating can turn a light film into a stubborn amber or grey patch. It may be worse near the lower edge or around the area facing a roasting dish. Fresh grease often feels slightly tacky when cool. Older deposits may look matte and resist a quick wipe. A streak that follows the path of a cloth is often a sign that the grease has been spread rather than fully lifted.
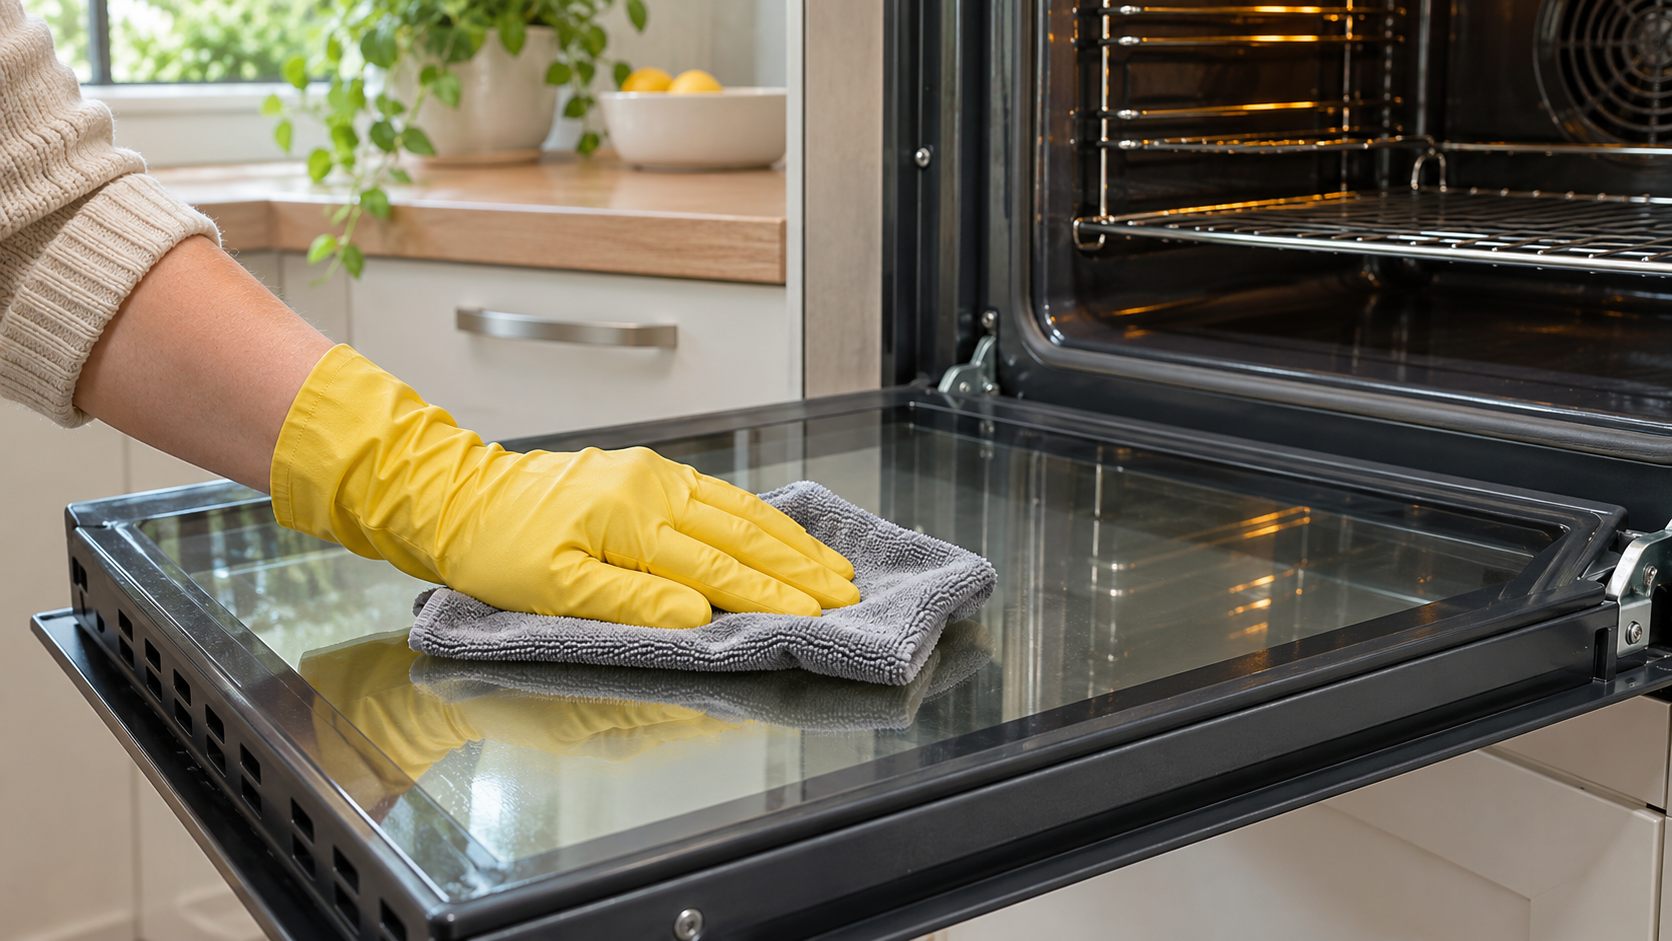
Start with the least aggressive method the manual permits. Remove loose crumbs first. Use a soft cloth lightly dampened with warm water and, only if suitable for the particular door, a little mild washing-up liquid. Work in small sections and turn the cloth as it becomes dirty. A second clean, damp cloth can lift product residue; a dry, lint-free cloth can then show whether the surface is clearer. Do not flood the lower edge of the glass or let liquid run into vents, hinges or seams.
Why a glass cleaner can leave new streaks
A product designed for household windows may leave a film when applied over oven grease. The spray can mix with the deposit rather than remove it, especially if the cloth is already saturated. Some oven doors also have coatings or manufacturer restrictions that make a general glass product unsuitable. Follow the appliance instructions rather than relying on the word “glass” on a bottle. Apply a permitted product to the cloth where appropriate, never into a door vent or electrical area.
Cloth choice matters as well. Fabric conditioner residue, a greasy kitchen cloth or lint from a paper towel can leave the pane looking dull. Try a freshly washed, clean microfibre cloth and plain water for the final pass if the manual permits. Dry one small area completely and compare it with the untreated area in the same light. That comparison tells you more than repeatedly polishing the whole door without checking what changed.
Marks between panes need a different plan
When both accessible surfaces are clean but a cloud remains apparently inside the door, scrubbing either surface harder will not reach it. Check the manual for the exact make and model. Some doors are designed so that a competent owner can remove a pane for cleaning; others are not. The instructions may call for supporting the door, releasing clips in a particular sequence and refitting the glass with its coated side facing the correct way. A generic video for a similar-looking oven is not a safe substitute for model-specific guidance.
Do not pour liquid through the top slots or use a ruler wrapped in cloth to reach between panes. Those shortcuts can move moisture into areas you cannot dry, scratch a coating, catch on components or leave a cloth fragment inside. If a door cannot be cleaned between panes under the manufacturer’s routine-care instructions, ask an appropriate appliance specialist about the construction. A professional oven clean can deal with accessible deposits, but dismantling and repair must be agreed separately.
White marks and permanent changes
A white or rainbow-like haze can be dried product, hard-water residue, fine scratching or a change to a surface treatment. You cannot distinguish all of these reliably from a photograph. First check whether the mark disappears briefly when the surface is damp and returns when dry. That may suggest a residue, but it is not proof. Inspect under a shallow light for fine lines. If the glass feels rough, has visible scratches or shows a patch that does not respond to the approved gentle method, stop before trying an abrasive paste.
Past cleaning choices sometimes cause lasting marks. A metal scraper, scouring powder or unsuitable chemical can affect a coating or scratch glass. Continued polishing will not reverse that. If the pane is cracked, chipped or loose, avoid using the oven and seek appliance advice. Even a small crack changes this from an appearance question to a condition question. Do not cover it with a film or adhesive and continue cooking.
A controlled check you can do in ten minutes
- Confirm the oven is completely cool and the door can be supported safely while open.
- Check the manual for the glass type and permitted cleaning products.
- Inspect inner and outer faces in steady light, then note whether the haze seems to be between panes.
- Choose a small accessible patch and clean it gently with the approved method.
- Rinse and dry that patch with clean cloths; compare it with the surrounding glass.
- Stop if the mark does not change, or if you see a crack, coating damage or a door component out of place.
The small-patch approach limits the amount of product you use and gives you an honest result. If the treated area clears, repeat the same careful method on the rest of the accessible face. If it does not, identify a different cause before doing more. Working longer with the wrong method can make a cloudy door harder to assess, particularly when layers of cleaner dry on top of the original deposit.
Preventing the same film from building up
After a roast or a dish that splatters, let the oven cool and check the accessible glass before another meal bakes on the film. Use a dish of suitable size, avoid overfilling it and follow the manual when positioning trays. Do not place foil or an improvised liner on the oven floor unless your manufacturer expressly allows it. A light wipe at the right time is easier than a forceful clean months later. Keep the door seal and surrounding frame dry as you work, and avoid leaving cleaner around the edge.
How often you need attention depends on how you cook. A household that regularly roasts uncovered food will usually see deposits earlier than one using covered dishes. Set a habit tied to actual use rather than a rigid weekly timetable. A clear view through the glass is useful for checking food without opening the door, but cosmetic perfection is not worth damaging a coated pane or dismantling an unfamiliar door.
What to say when asking for professional help
Explain whether the cloudiness is on an accessible surface, appears between panes or seems to be a permanent mark. Give the oven make and model, and share a photograph taken in good light if asked. Describe the products already used. For a wider clean of the cavity, racks and accessible door glass, our professional oven cleaning service in London can be discussed against the actual appliance and its condition. Ask specifically what door work is included in the quote. Replacement glass, hinges and specialist dismantling should never be assumed to be part of routine cleaning.
If a pane is cracked or the door does not close properly, seek suitable appliance repair advice first. Cleaning can improve removable residue, but it cannot restore broken glass or a damaged coating. Taking a few minutes to locate the mark protects both the door and your time. The right next step may be another gentle wipe, a model-specific cleaning instruction or a repair enquiry, depending on what you actually find.
Would you like help with the cleaning?
Tell Savvy Oven Cleaning about the appliance or surface, its condition and your postcode. You can discuss the scope and quote before booking.