
Oven Cleaning Advice
Oven Door Seals: What You Can Clean and What Needs Repair
A greasy oven door seal can often be cleaned gently, but a torn or loose gasket needs a different response. Here is how to tell the difference without damaging the door.
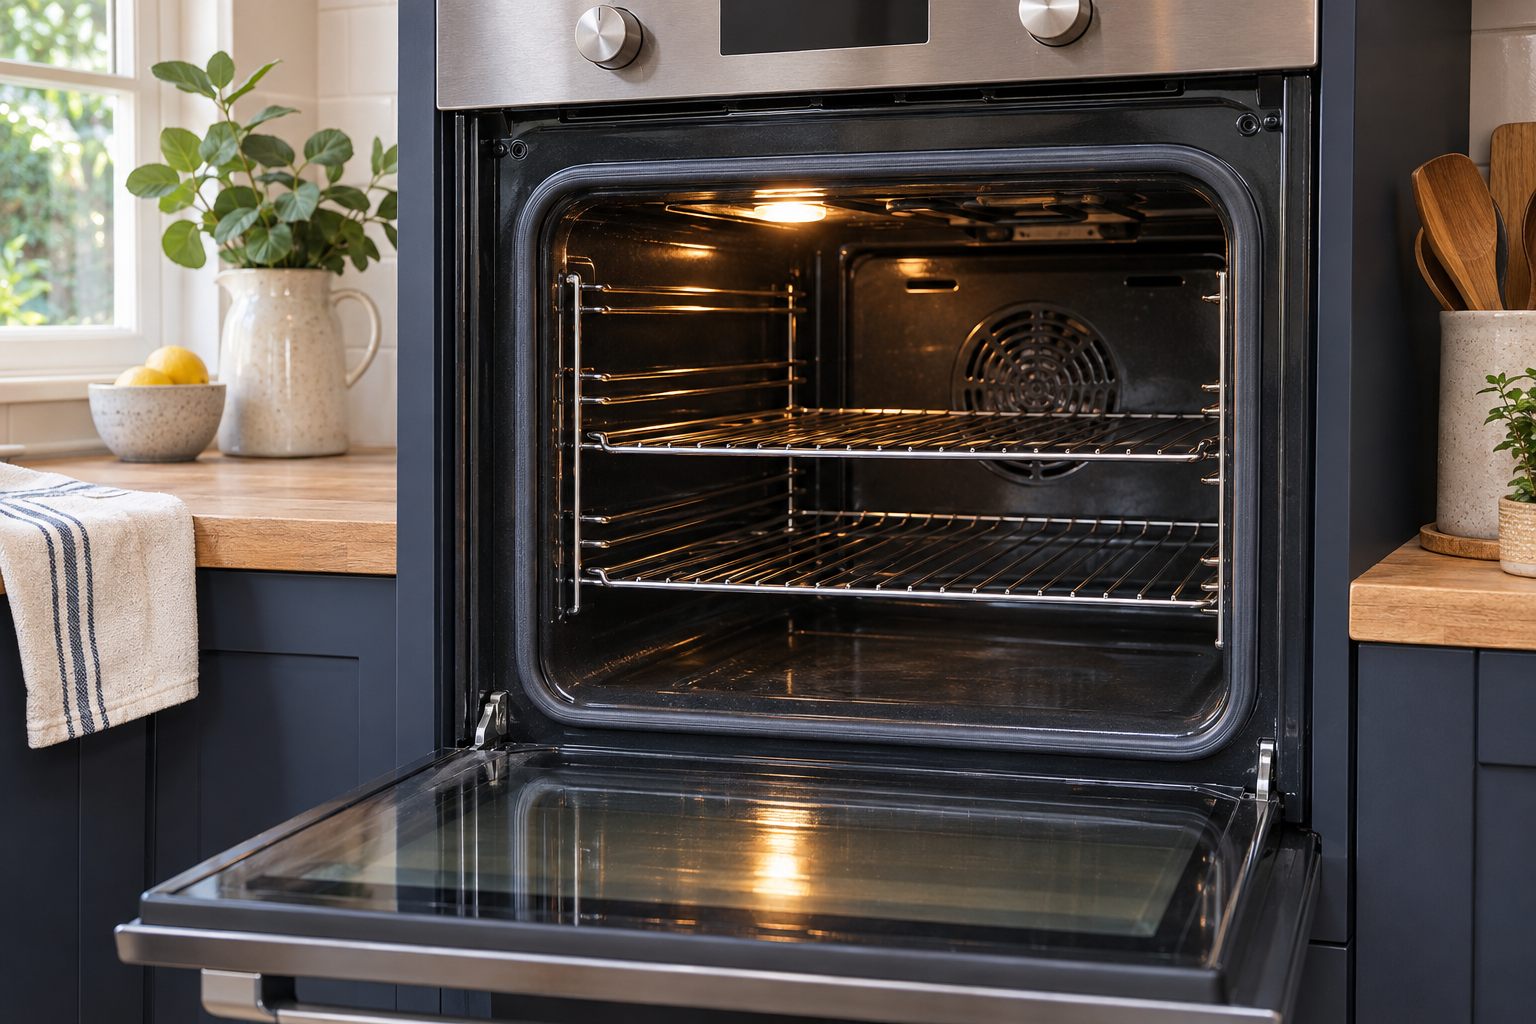
The rubber or woven gasket around an oven door is easy to overlook. It sits close to the area you cook in, collects splashes and cooking vapour, and may look grimy long before the rest of the door does. A mark on the seal does not automatically mean it has failed. Equally, a seal that looks reasonably clean can still be loose, torn or flattened. The useful first step is to separate ordinary residue from a change in the material or fit.
This guide is for a domestic oven that is switched off and cool. It explains what you can inspect and clean without taking the door apart. Your appliance manual takes priority: seals vary by model, and some manufacturers give particular instructions about cleaning products, clips and replacement parts. If the oven is not heating normally, the door will not shut, or you are concerned about gas or electrical safety, stop using it and arrange suitable professional appliance advice.
Why the seal matters
The seal helps the closed door sit against the oven as designed. During cooking, it is exposed to repeated heating and cooling, steam, fat and occasional food spills. That combination can leave a sticky film, particularly near the lower corners where drips settle. Normal wear is gradual, but pulling at a seal, scraping it with a sharp tool or saturating it with a strong product can shorten its useful life.
Do not treat the gasket as a cosmetic trim that can simply be removed for a soak. On some ovens it is held by clips; on others the construction is different. Refitting the wrong part or placing it unevenly can affect how the door closes. Cleaning the exposed surface in place is usually the sensible household task. Replacement is a separate job that begins by identifying the exact make and model.
Inspect it before reaching for a cleaner
Wait until the oven and door are completely cool. Open the door fully and look around the entire visible run of the seal in good light. Start at one corner and follow it steadily rather than judging the most stained patch alone. Check whether the gasket sits in its intended position, whether any clip appears missing, and whether the material has an obvious split, hole, hard patch or section that has pulled away. Notice crumbs or hardened drips in the adjacent channel as well: these can make a sound seal look untidy.
- Likely surface dirt: a greasy film, crumbs or spots on material that remains continuous and seated.
- Possible wear: a section that looks flattened, brittle or permanently compressed compared with the rest.
- Likely damage: a visible tear, missing clip, exposed gap or material hanging away from its normal position.
- Separate door issue: hinges, alignment or a latch that prevent the door closing properly, even if the seal looks sound.
These observations are a way to describe the problem, not a diagnosis of oven performance. A little discolouration is common and cannot reliably tell you whether a gasket is sealing well. Avoid internet tricks that claim to prove a seal’s condition with a single sheet of paper or a photograph. Oven doors have different designs, and an apparent draught or uneven warmth may have more than one cause.
A gentle cleaning method for an intact seal
Read the manufacturer guidance first. If it permits routine wiping, gather a soft microfibre cloth, warm water and a second cloth for drying. A small amount of mild washing-up liquid may be suitable for some models, but use it only if the appliance instructions allow it. You want a lightly damp cloth, not a dripping one. The aim is to lift grease from the exposed surface without forcing liquid behind the gasket or into the door.
- Remove loose crumbs from the nearby edge with the dry cloth. Work away from vents, controls and electrical openings.
- Wipe a short section of the seal gently. Support the cloth with your fingers and follow the shape of the material; do not pull the seal out to reach behind it.
- Rinse or turn the cloth as it collects grease. Repeated light passes are safer than hard rubbing on one stain.
- If you used an approved mild detergent, remove the residue with a separate lightly damp cloth.
- Dry the visible seal and the adjacent frame. Leave the door open briefly if the manual recommends it, then check that nothing has shifted.
Stop if the cloth catches on a tear or the material begins to lift. A stain that remains after gentle wiping is not a reason to scrub harder. The seal’s condition matters more than making every centimetre look new. Do not spray cleaner directly onto it. Avoid steam jets, wire wool, knives, abrasive pads and strong oven degreasers unless the manufacturer expressly approves a method for this component. A cleaner intended for enamel or removable metal racks is not automatically suitable for a gasket.
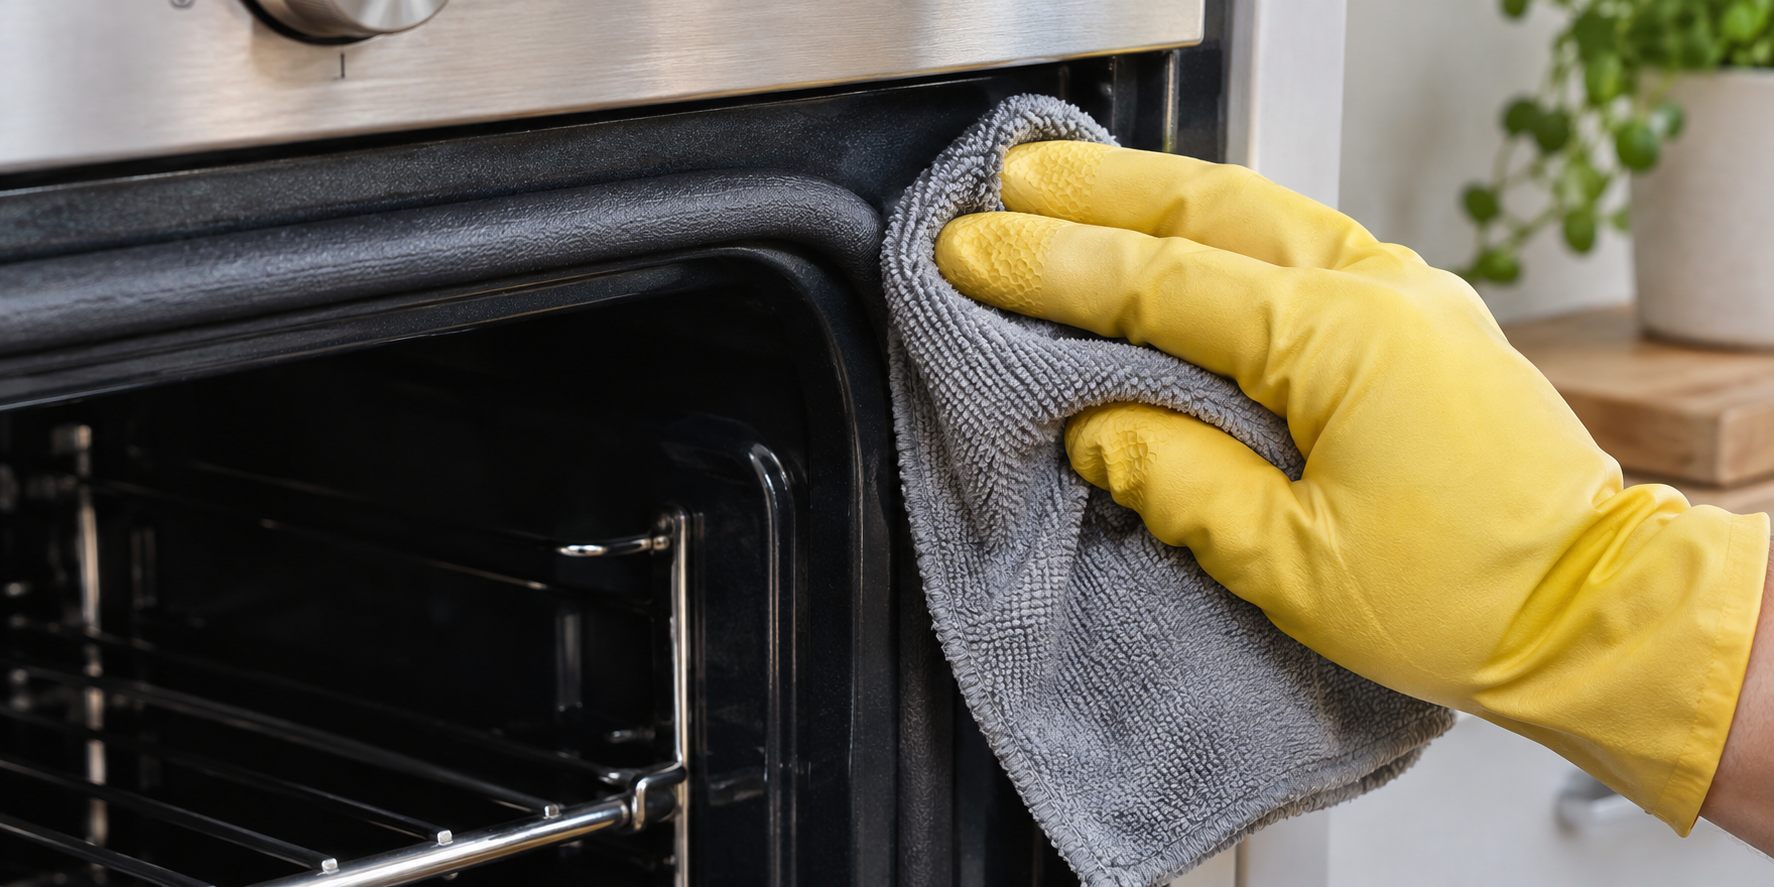
Clean the surrounding frame separately
Sometimes the apparent seal problem is baked-on food on the metal or enamel beside it. Tackle that surrounding surface according to the oven manual, keeping the gasket out of the working area. A folded cloth can help you control where moisture goes. Work slowly around corners, because residue often accumulates at the point where the door meets the lower frame. Keep cleaning products away from hinges, vents and controls, and check that nothing is trapped where the door closes.
If you are planning a wider clean of the cavity, racks and glass, see our oven cleaning service in London. Describe the seal’s condition when you enquire so the scope can be discussed accurately. A professional clean can address suitable accessible deposits, but a damaged gasket or faulty door may need a replacement part or appliance repair rather than more cleaning.
When cleaning is the wrong answer
A split seal cannot be restored by wiping, and adhesive is not a general substitute for a correct oven part. If a section hangs loose, a clip is missing or the gasket has become hard and brittle, record the model number and follow the manufacturer’s replacement guidance. It may be printed on a rating plate around the door opening, behind a drawer or in the manual; check without dismantling the appliance. Use the exact model details when seeking a part, because gaskets that look similar in photographs may differ in shape, attachment and heat rating.
Take particular care if the door itself will not shut squarely. The fault could involve hinges or a latch, and pressing harder on the door is unlikely to solve it. If cooking performance has changed, food is taking unexpectedly long, or heat is escaping in an unusual way, stop treating the issue as a cleaning challenge and ask a qualified appliance specialist to assess it. For a gas oven, any smell of gas calls for the appropriate emergency guidance, not a test run to see whether the seal is responsible.
What about a self-cleaning cycle?
Do not use a pyrolytic or other self-cleaning cycle as a shortcut for cleaning a gasket. Self-cleaning systems and their instructions vary, and the seal may have specific restrictions. Check the manual for the precise model before starting any cycle. Remove only the accessories the instructions tell you to remove and follow the ventilation and preparation advice given there. If the seal is damaged or the door does not latch properly, seek appliance advice before running a high-temperature cycle.
The same rule applies to removable panels and inner door glass. Being able to see dirt between two panes does not mean the door should be dismantled as part of routine care. Hardware and seals are easy to misplace, and a door that has not been reassembled correctly can create a more serious problem than the original mark.
A practical routine after messy cooking
Prevention here is modest. When the oven has cooled after a meal that splashed, look for fresh drips near the lower door edge. Lift accessible residue before another cooking session bakes it on, using the method approved for your oven. Make sure roasting tins are suitable for the food and positioned as the manual recommends; overfilling a tray makes spillovers more likely. Do not place foil or a liner on the oven floor unless the manufacturer allows it, because that can interfere with airflow or damage the surface.
A quick inspection every few weeks is more useful than a fixed promise to deep-clean the gasket on a particular date. A household that roasts frequently may see grease sooner than one that mostly uses covered dishes. Pay attention to what actually reaches the door. Keep cloths used on greasy oven surfaces separate from those used for ready-to-eat food areas, and wash them according to their care instructions.
Questions to ask before booking help
When contacting a cleaner, explain whether the concern is residue, a loose seal or a door that no longer closes. Share the appliance make and model if you have it, and a clear photograph of the area. Ask whether cleaning the accessible gasket surface is within the proposed scope. If you need a replacement part or repair, say so plainly; an oven cleaning appointment should not be mistaken for a repair booking. Our same-day oven cleaning information explains availability for urgent cleaning enquiries, but urgency does not change the need to address a potentially faulty appliance through the right specialist.
For a range cooker or AGA, mention the exact appliance rather than assuming the same door design as a standard built-in oven. Our AGA cleaning service has its own scope, and preparation should be confirmed for the model. This helps everyone distinguish a cleaning request from a component problem before an appointment is arranged.
The useful distinction
An intact, seated seal with surface grease deserves a gentle, controlled wipe if the manual permits it. A torn, loose or brittle seal deserves identification and the correct replacement or repair route. That distinction protects the appliance and saves effort: no amount of extra scrubbing will mend a damaged gasket, while a little routine attention can prevent ordinary splashes becoming stubborn deposits.
Would you like help with the cleaning?
Tell Savvy Oven Cleaning about the appliance or surface, its condition and your postcode. You can discuss the scope and quote before booking.